
How to Hand Letter on the iPad Pro Like a Pro!

You’ll Need:
· Procreate app – the current version is supported by the following iPad models: 12.9 inch iPad Pro (1st, 2nd, 3rd, and 4th generation), 11-inch iPad Pro (1st and 2nd generation), and 10.5 inch iPad Pro.
· iPad Pro – choose one of the above models, follow along with the current Procreate app recommendations online if you’re reading this later.
· Apple Pencil – any generation that works with your version of the iPad Pro.
Step One:
Open the Procreate app on your iPad. You’ll be prompted to choose a canvas size. I like to choose “Screen size” for hand lettering practice. If you plan to make a post for Instagram, choose “Square”.

The first thing I do is go to the Brush Library and change my brush to the Grid texture & draw a grid that fills the whole screen (you can adjust the size of the grid by using the sliding tool on the far left of the screen).


This will be your bottom layer, underneath your hand lettering to act as a guide.
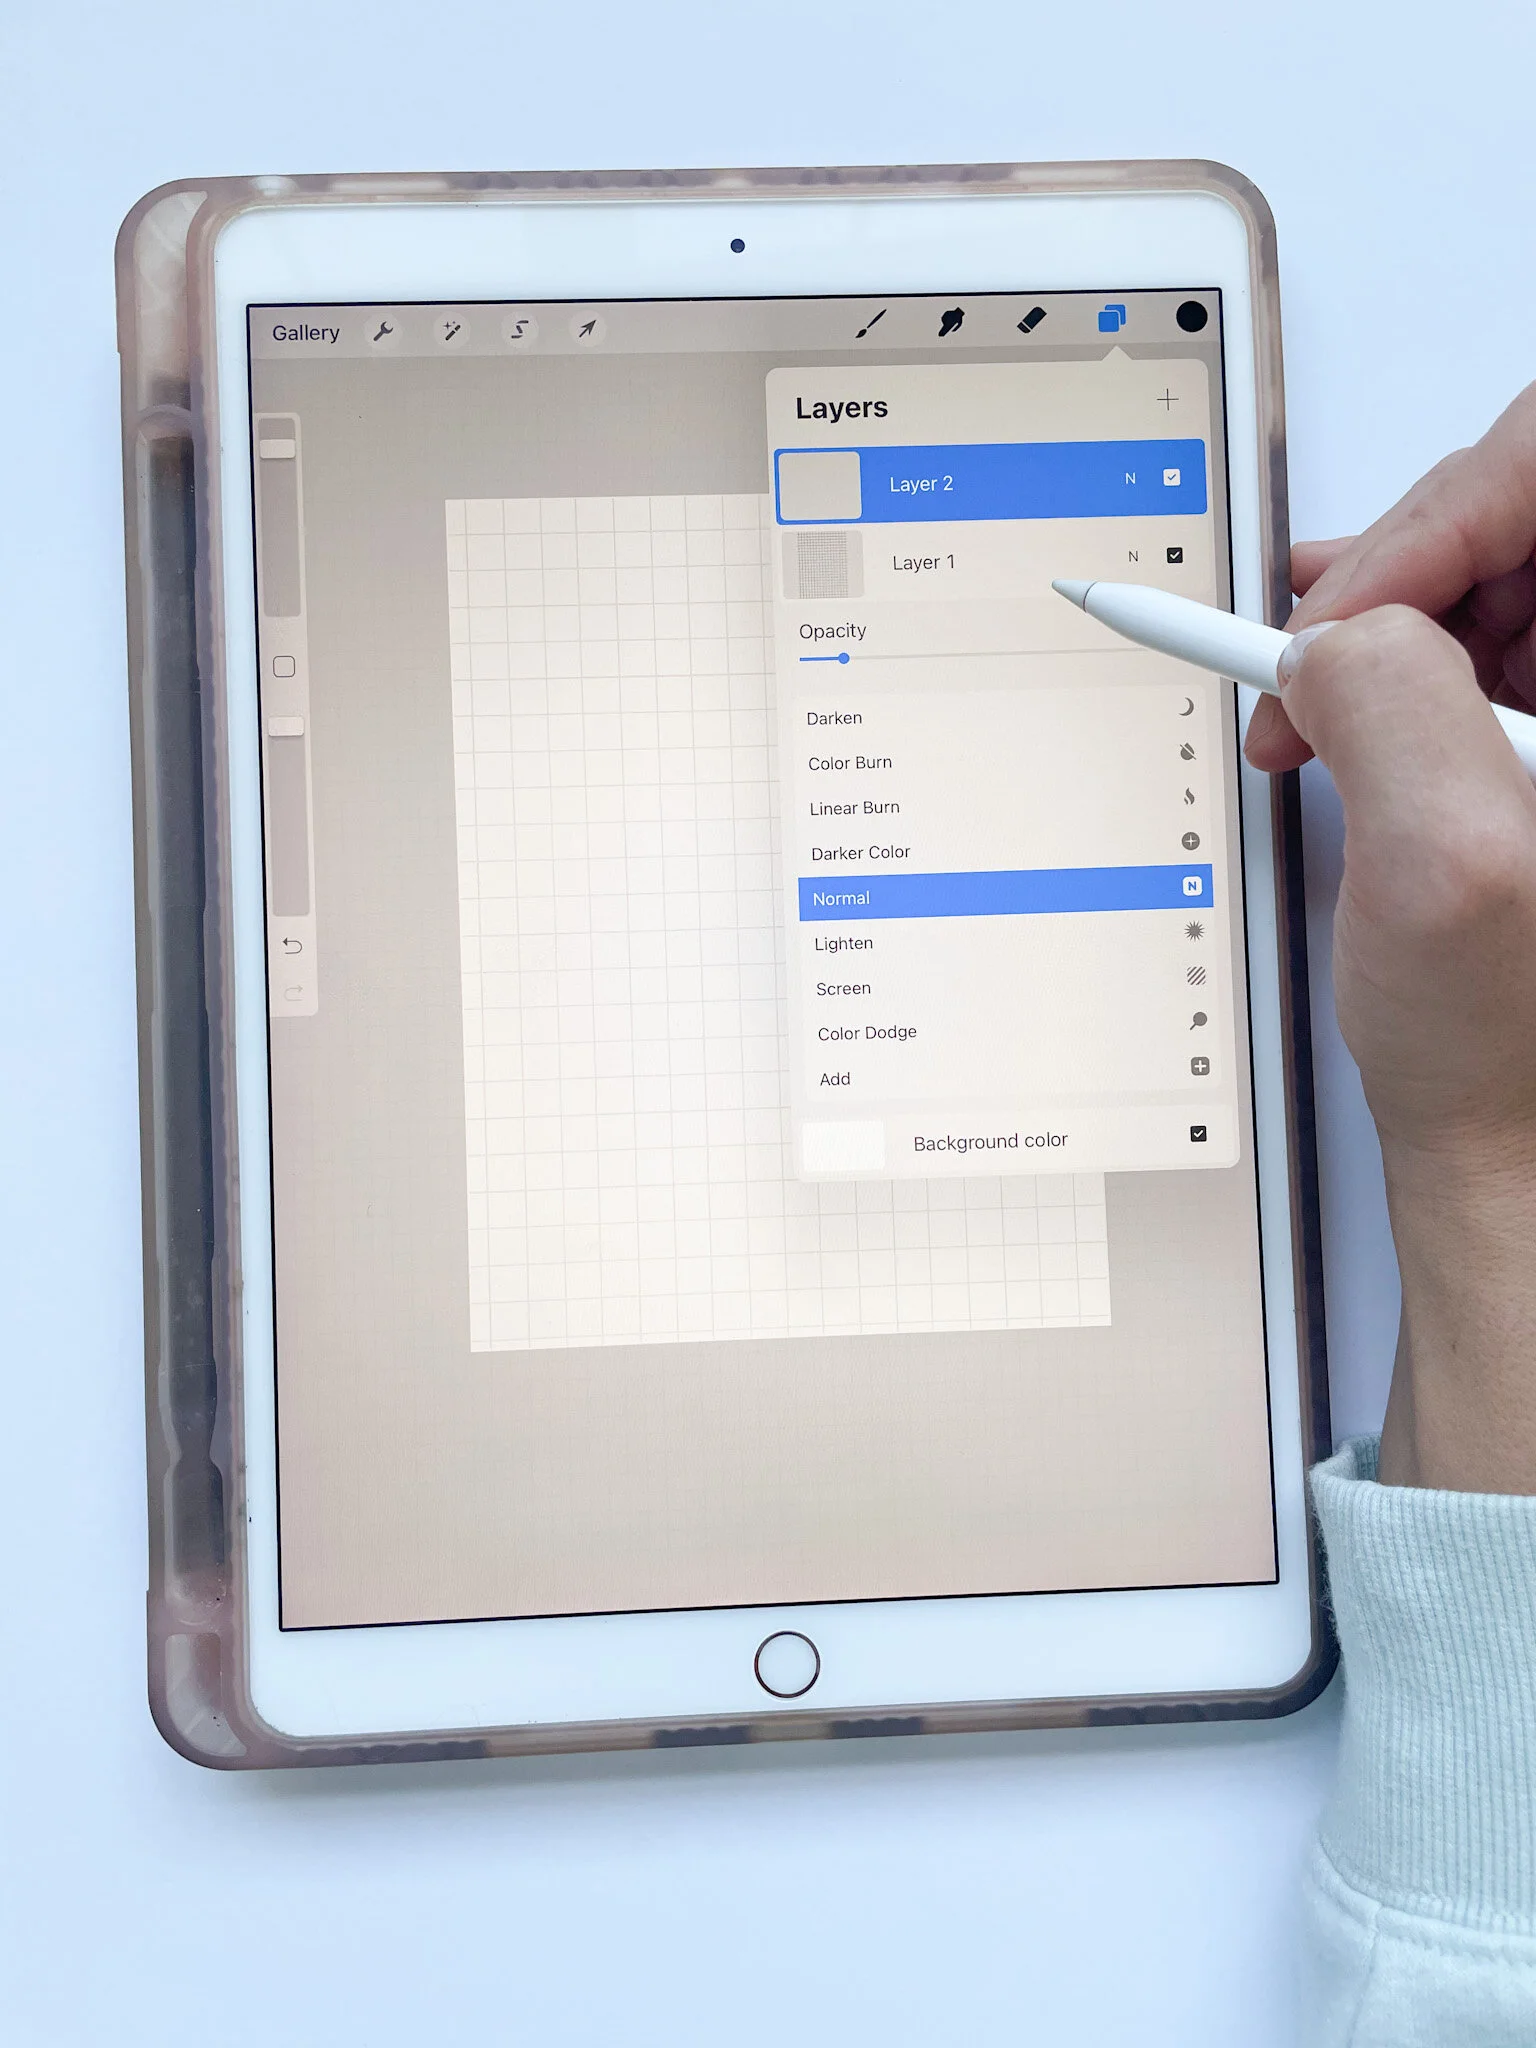
Next, use the layer tool to add a layer on top of the grid. This will be the layer you hand letter on.

I go back to my Brush Library again and change my brush to the “BrittanyLettering” brush. This is a custom brush that I created after years of lettering on the iPad, and it’s the only one that I use for all my lettering! You can grab it here in my Etsy shop!

Step Two: Lets’ Letter!
Okay now that you’ve got everything setup, let’s practice lettering!
First, use your pencil to practice applying firm pressure for downstrokes, and light pressure for upstrokes. This is consistent for all modern calligraphy.

Practice this continuously, using your grid layer under your hand lettering as a guide. If you want to delete something, click the “undo” icon on the far left of the screen. Whatever you just did will magically disapper! Super amazing perk to iPad lettering!
Practice smooth up and downstrokes (U shaped), straight up and downs (W shaped), wide loops and angled strokes (see picture for reference below).

The best way to practice letters is the lowercase alphabet. Practice each letter, keeping them proportional using your grid size.
Once you’ve done the whole alphabet, lower the opacity of the layer you’re working with.

Now it’s time for the secret trick! This is the beauty of lettering with the iPad, Are you ready?

Add a new layer on top of that faded lettering layer. You can now use the old lettering as your new guide … use you new layer to make tweaks and changes to the original lettering, and trace over anything you liked from the first go around.
Now is the time to adjust your loop sizes, straighten any crooked lines, and fix imperfections so that your letters are perfect!

Isn’t it magical? This is so much better than having to start completely over with pen and paper! The iPad is an absolutely amazing hand lettering tool!

Okay lovelies, that’s all you need to get started! I cannot wait to see all the beautiful lettering that you create.
As always, be sure to share your photos using the hashtag #brittanylettering so I can see them and cheer you on! For even more lettering ideas, follow @brittanylettering on Instagram!
Happy Lettering!
XO Brittany