
Hand Painted Holiday Doormat

I’m so excited to start decorating for the holidays! One of the easiest ways to refresh your home is to start with the your front door. A simple yet festive doormat is a small way to make a big impact!
This design is a mix of type and hand lettering by yours truly. You can grab the design here in the Etsy shop!
You’ll Need:
Blank coir doormat (I used this one from Target!)
Craft cutting machine (I have this one!)
12” x 24” machine mat (like this one from Cricut)
Black paint (preferably outdoor quality)
An medium-large craft paintbrush
Step One: Design
I started by hand lettering my design in the Procreate app on my iPad Pro. I typed the top and bottom lines, and hand lettered the word “Wonderful” using my favorite customized BrittanyLettering brush - you can grab it here!


Step Two: Send It
I save all my designs as JPG files and send them to my computer. The iPad allows you to airdrop directly to a Mac computer without having to jump through hoops. I love how simple it is.


Step Three: Cut
Upload your new design to Cricut Design Space. If you’re using my design, it’s saved as an SVG file so you won’t have to remove any background. If you’re using your own design, you’ll need to upload it and manually remove the background.
Choose “Simple” for high contrast photos like hand lettering. Then select and “erase” the white spots to create a vector (transparent) image.


Once you’ve successfully removed the background, save & upload it to your Canvas.
Resize the image in your Canvas. You won’t be able to cut larger than 23.5” on a 24” mat. I resized mine to be right at 23” long. This made the design about 10.5” tall.

Click “Make It” in the top right corner.

You’ll be prompted to make sure you’re using a 24” mat instead of the standard 12” x 12”. Select “Ok” & “Continue”.
Enjoy watching your Cricut get to work!

Step Four: Weed
Use the weeding tool to remove only the vinyl letters, leaving the background. We will be using the large background space as a painting template on the doormat.
Place the vinyl centered on the doormat. Don’t worry if it’s not perfect, the vinyl is very forgiving! Keep adjusting until it looks right to you.


Step Five: Paint!
Use your paintbrush to gently dab the paint into the letters. I’ve found that you’ll have the best luck simply dabbing the paint straight down into the bristles of the doormat rather than using a brushing motion.


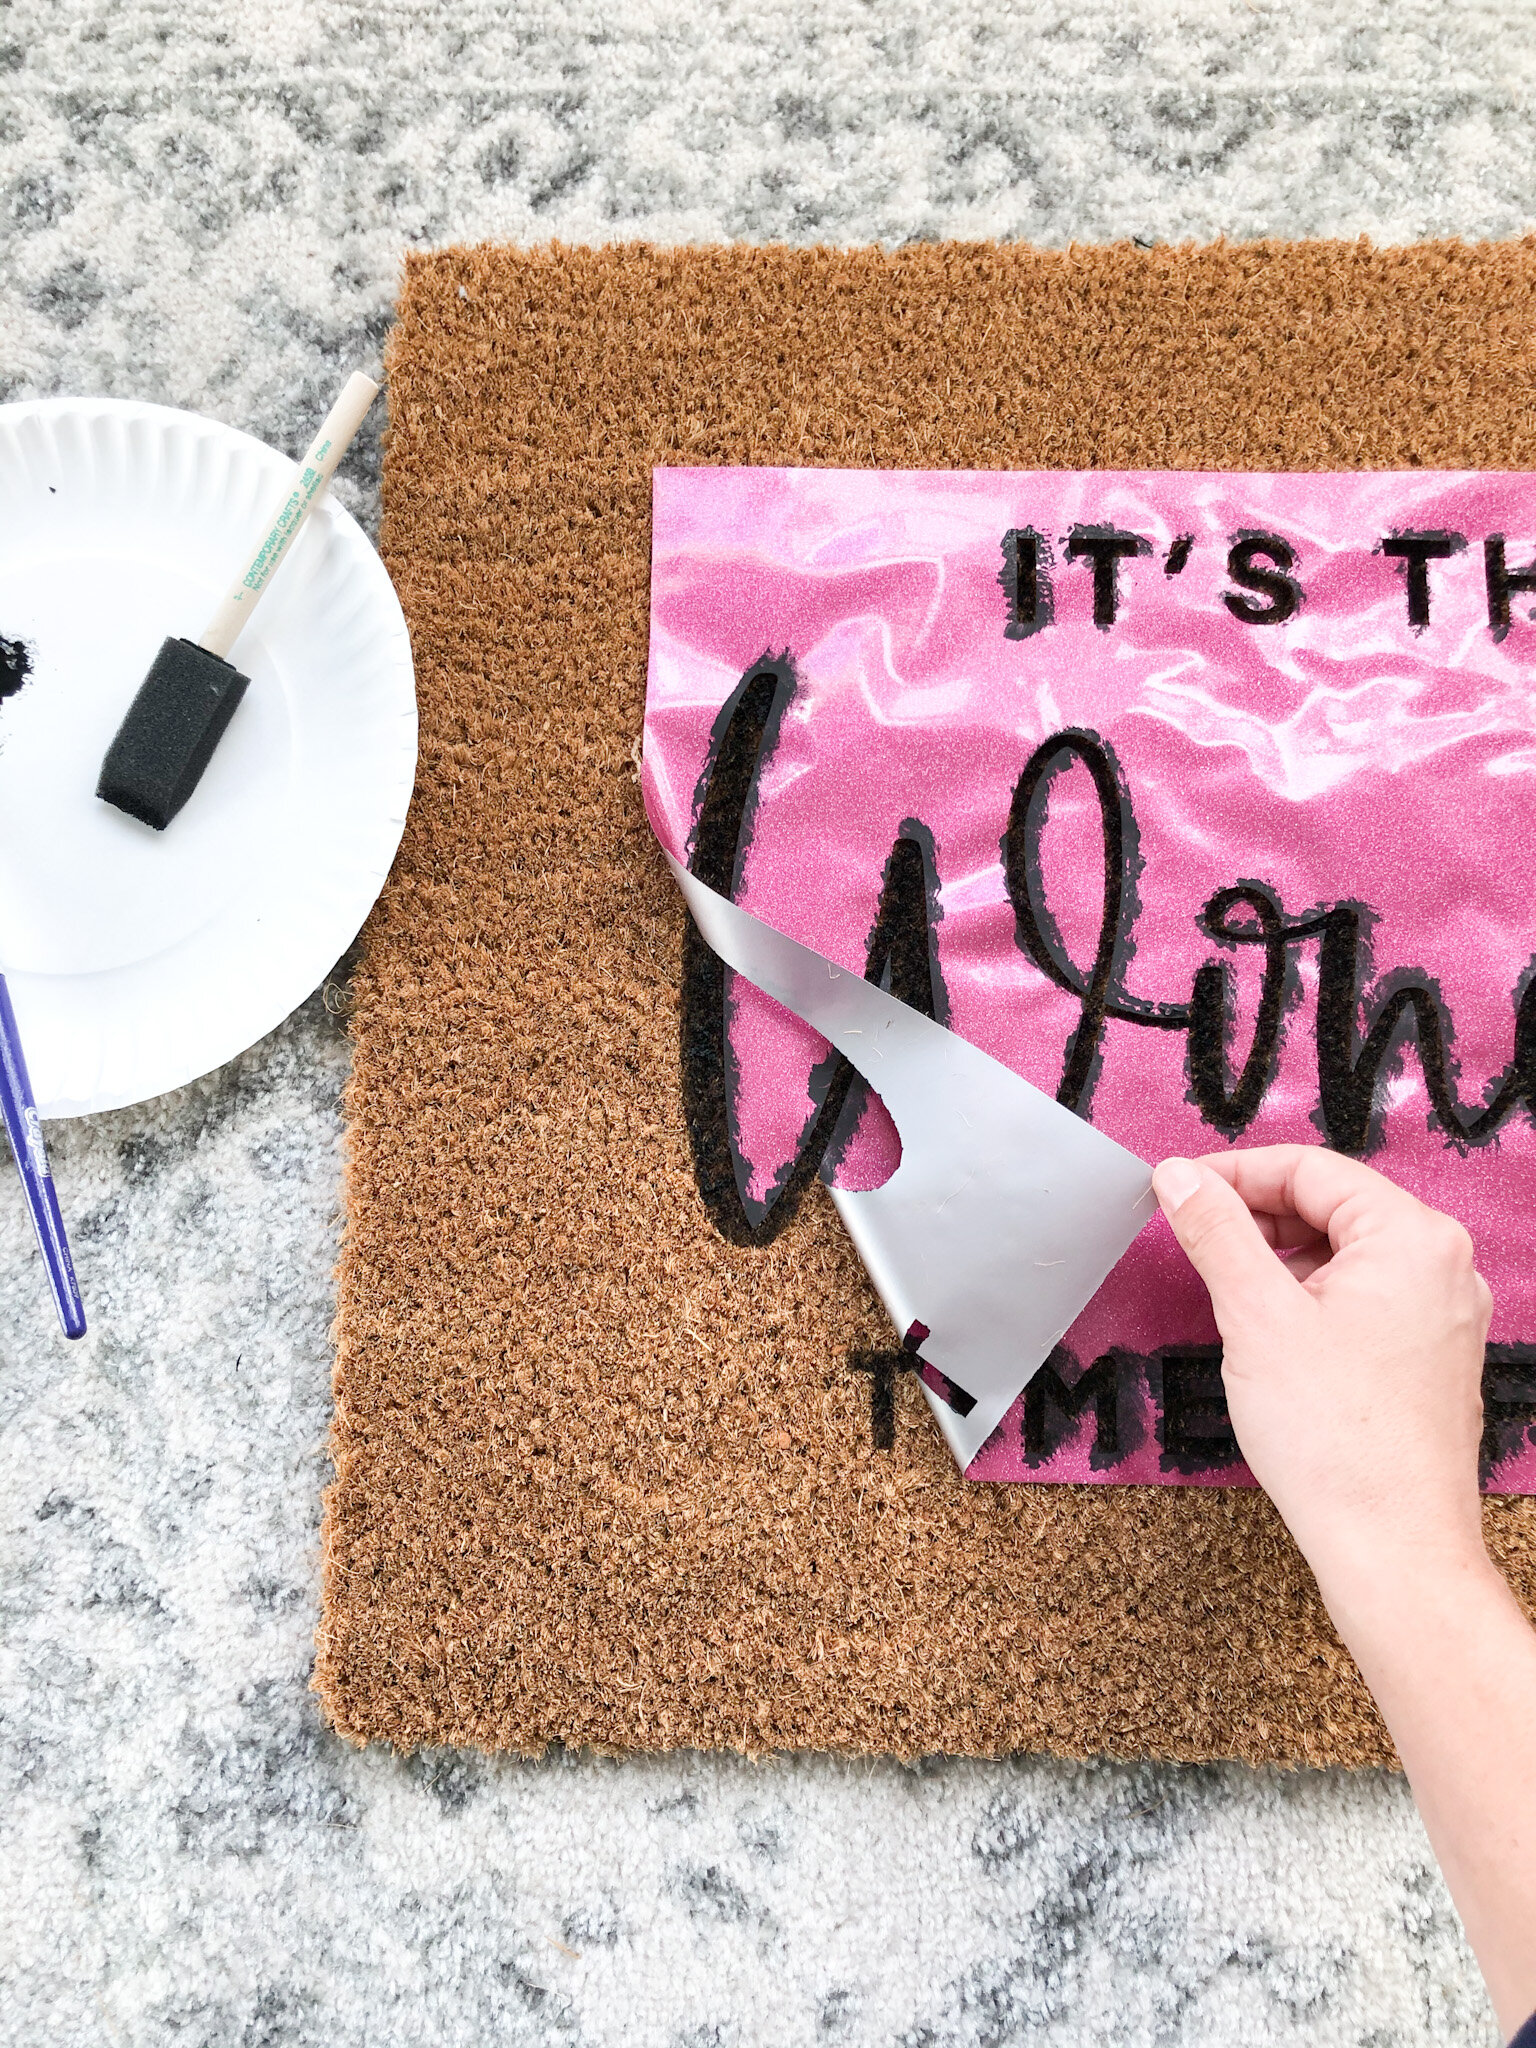
Once you’ve got it all painted, gently peel away your vinyl template to reveal your design!
Touch up any spots that need a little more paint.


And you’re done! Three cheers for the cutest holiday doormat on the street.


If you try this DIY I’d love for you to share a picture over social media using the hashtag #brittanylettering! For even more ideas, follow @brittanylettering , @officialcricut and @expressionsvinyl over on Instagram!
Be sure to head over to the Etsy shop to find even more designs for your holiday projects!
Happy crafting!
XO Brittany