
Customize Your Favorite Journal or Bible Without Painting It!


I’m sure you’ve seen those hand painted bibles that are all over Pinterest and Instagram. I used to make them myself!
Maybe you’ve just gotten comfortable using your craft cutting machine and you’re not quite ready to jump into paints yet. Or maybe you’ve got another book or journal that you’d love to apply these steps and personalize on your own! Either way, I’ll show you everything you need to know step by step so that you can customize your very own beautiful piece!
Grab your favorite hardcover book/journal/bible, a cozy beverage, and let’s get started!
What You’ll Need:
Your favorite hardcover book, journal, or Bible. I used this one.
Cricut (or similar) craft cutting machine. I have this one.
Basic tool set for weeding
Download my Hand Lettered Verse & Modern Floral Hexagon SVG

Step One: Design in Procreate with iPad & Apple Pencil (skip to Step 2 if you’ve already downloaded my design!)

If you’ve been hanging around here for a little while you know that my favorite way to hand letter is on the iPad Pro with my Apple Pencil. It’s sooo easy! And the backspace “delete” button is the real MVP, haha no more wasting materials with tiny mistakes!
Click Here to hop over to my blog post all about iPad Lettering
Click Here to grab the practice pages I have available in Etsy
Click Here to grab my all time best and my most favorite iPad Lettering brush!
Whenever I’m creating a design that will go on a specific product, I like to take a picture of it first and send it to my iPad. Then, I’ll add a new layer on top of the image in the Procreate app and letter my design there. This keeps the design perfectly proportioned. You’ll also be able to resize your design in Cricut Design space next.


Once you’ve drawn your designs, click on the Layers tool (the two squares at the top right) and uncheck all your layers except the design you’re going to send. Go ahead and send it as a transparent PNG to your computer to upload into Cricut Design Space. Do this with all the designs you want to cut.
Step Two: Cricut Design Space
Once you’ve got the PNG on your computer, open your Cricut Design Space software and click “Upload Image” to upload your new PNG.

Once you upload, select “simple” image & Continue.


The next window will prompt you to delete the background, but since you’ve sent a transparent PNG file you should be able to skip this step. Click “Continue”.

Click “Save as a Cut image” & Continue.


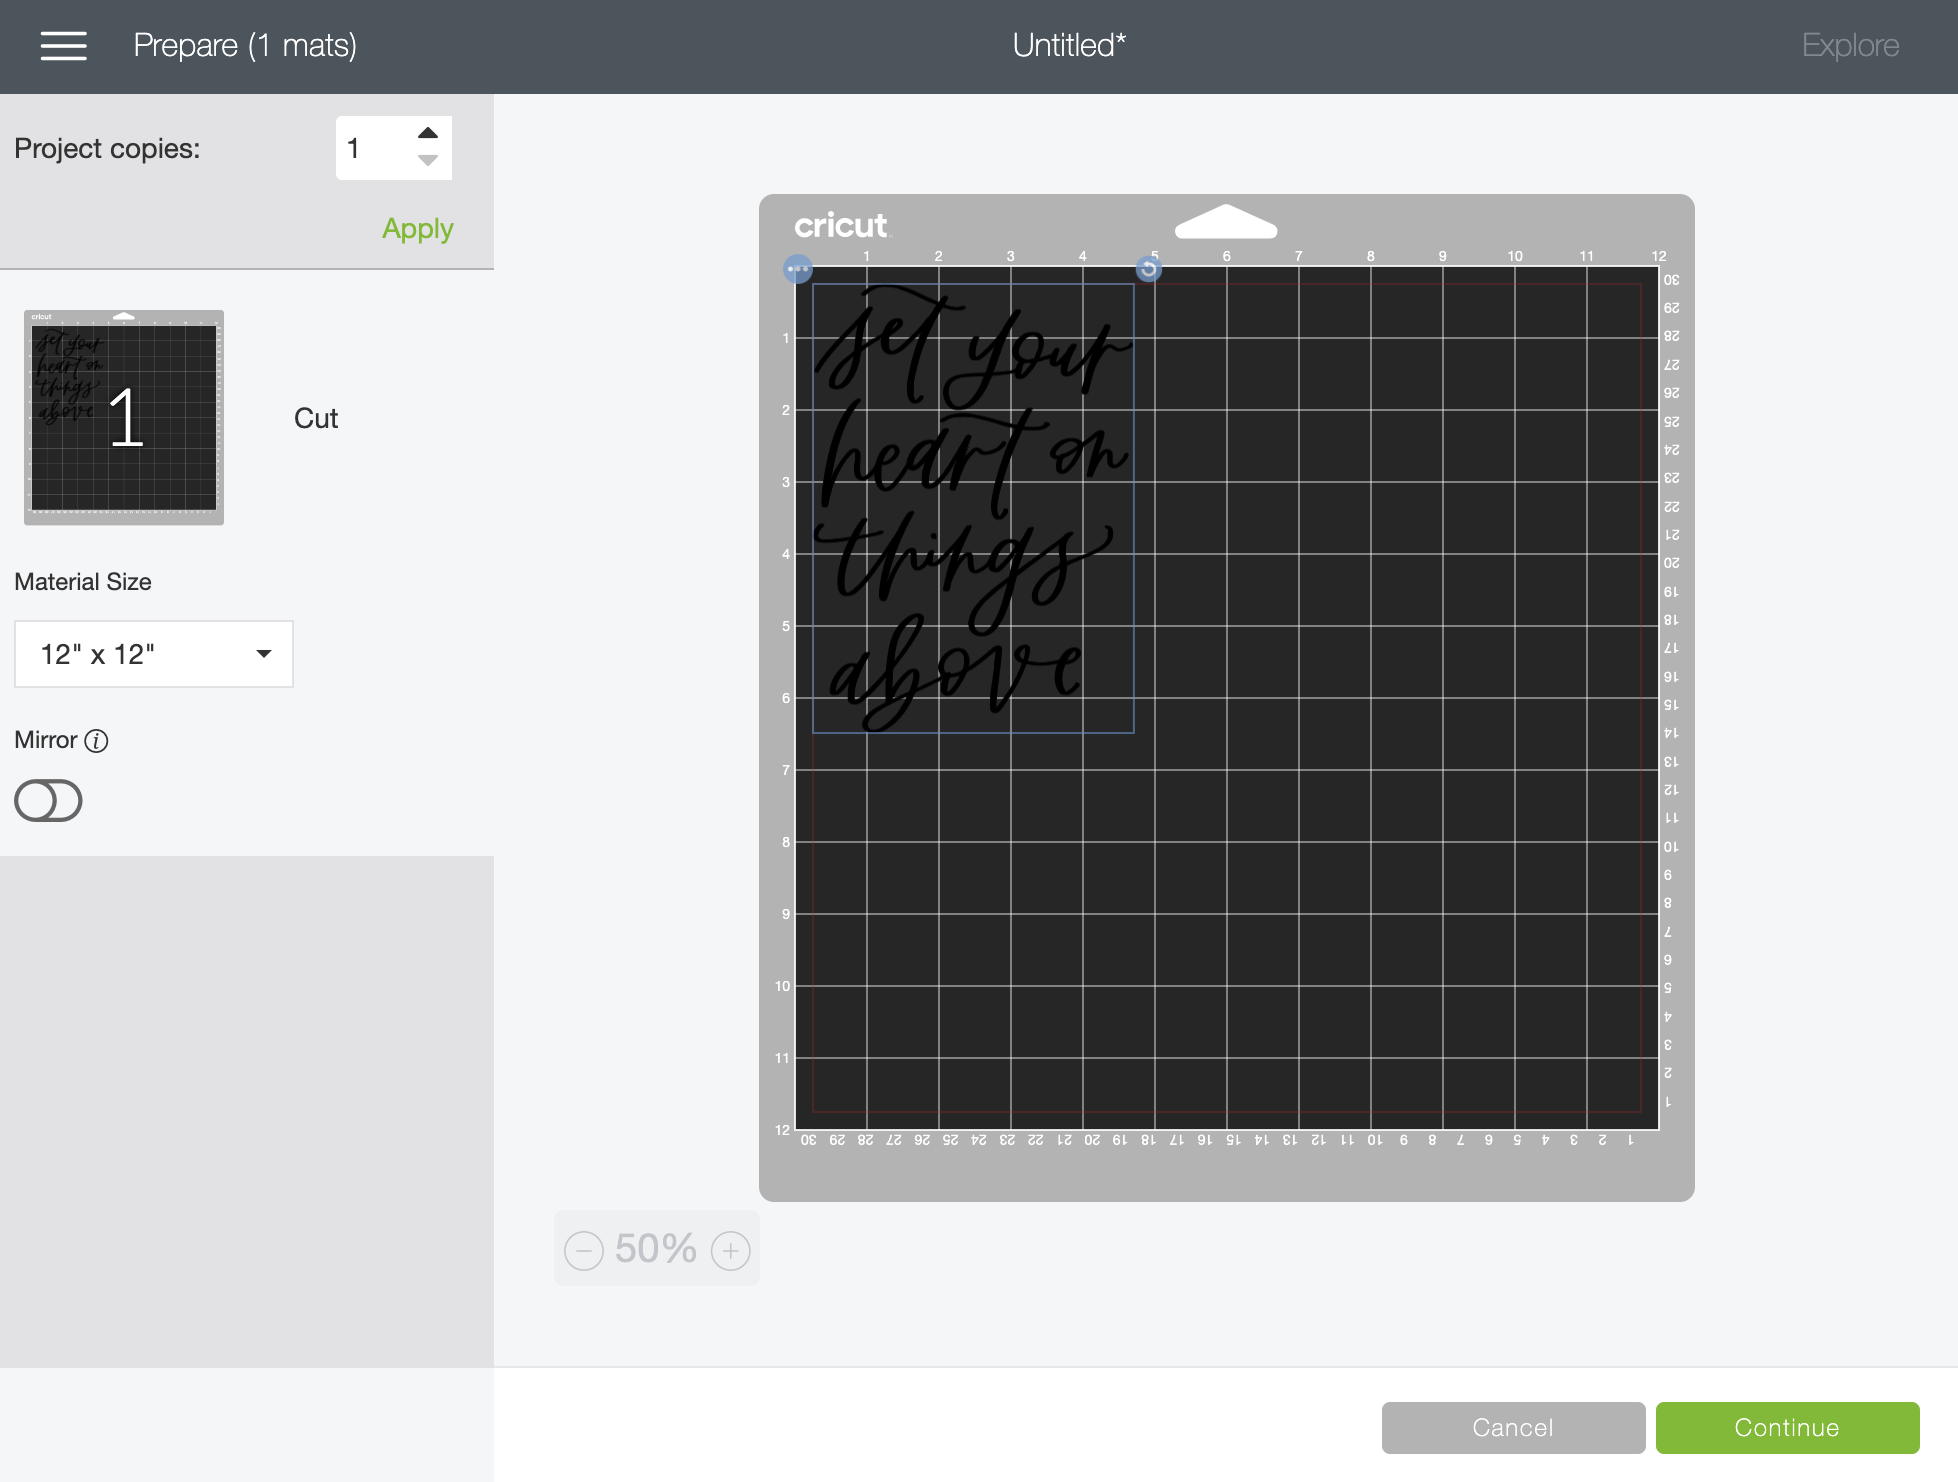
Now you’ll be able to upload your design to the Canvas. Here’s where we will double check the measurements we took on our actual bible or journal, and make sure our measurements match with the Canvas. Click the arrows on the bottom right of your design and drag to match the measurements of your book or journal.

Once you’re happy with the measurements, click “Continue” at the top right. The next window will show you the exact size you’ll need of vinyl. Measure & cut your vinyl, then apply it to your cutting mat & load it into your machine.


Once your machine is loaded and ready to go with the vinyl, press “Continue” and then press the flashing “C” logo button on your Cricut machine.
Now sit back and watch the magic happen!


Once your vinyl is cut, remove the extra vinyl with your pointed weeding tool, then measure & apply a clear sheet of transfer tape on top. Use your scraper tool to make sure it’s adhered well.


Slowly peel away the transfer tape and your design should be attached. Now you can lay it down flat on your bible or journal, press firm or use your scraper tool, to apply the decal to your book. Slowly remove the transfer tape when you’re finished to reveal your beautifully decorated bible!
Repeat the steps above with your design for the front cover.


Hooray! You did it!
If you try this DIY I’d love for you to share a picture over social media using the hashtag #brittanylettering! For even more ideas, follow @brittanylettering, @officialcricut, and @myvinyldirect over on Instagram!
Be sure to head over to the Etsy shop to find even more fun designs for your projects!
Happy lettering & happy crafting!
XO Brittany