
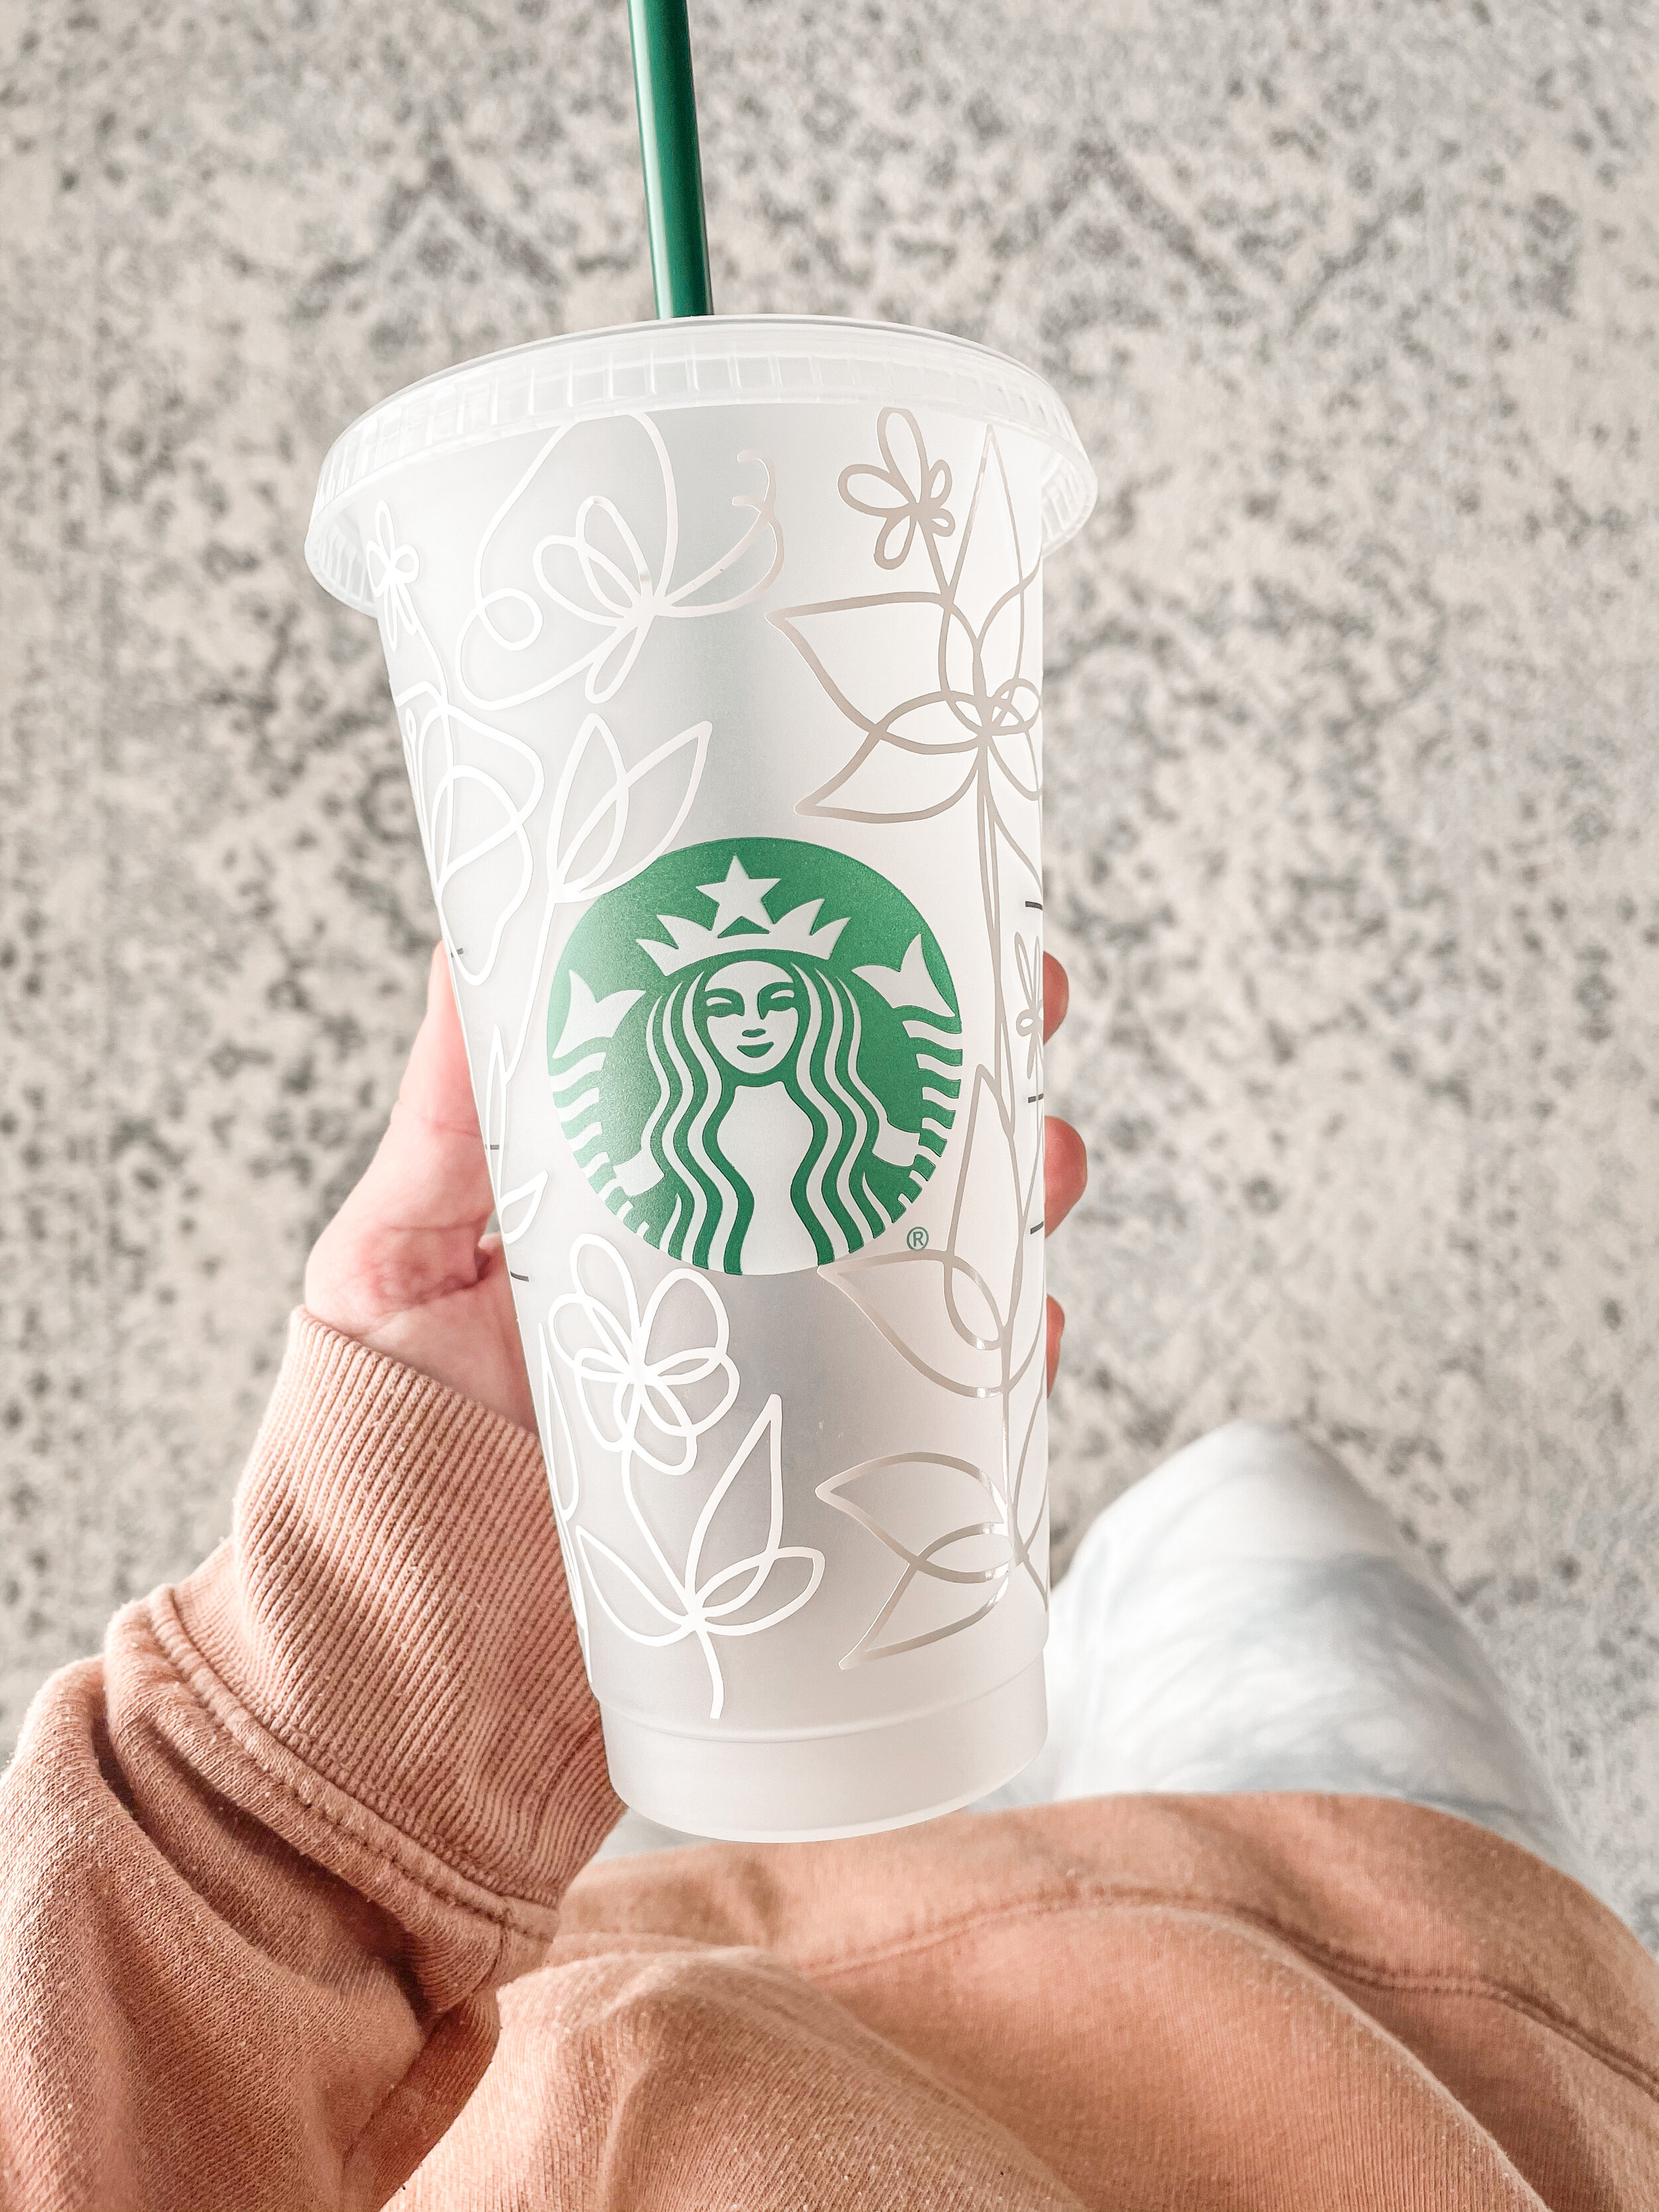
Spring Botanical Starbucks Cups
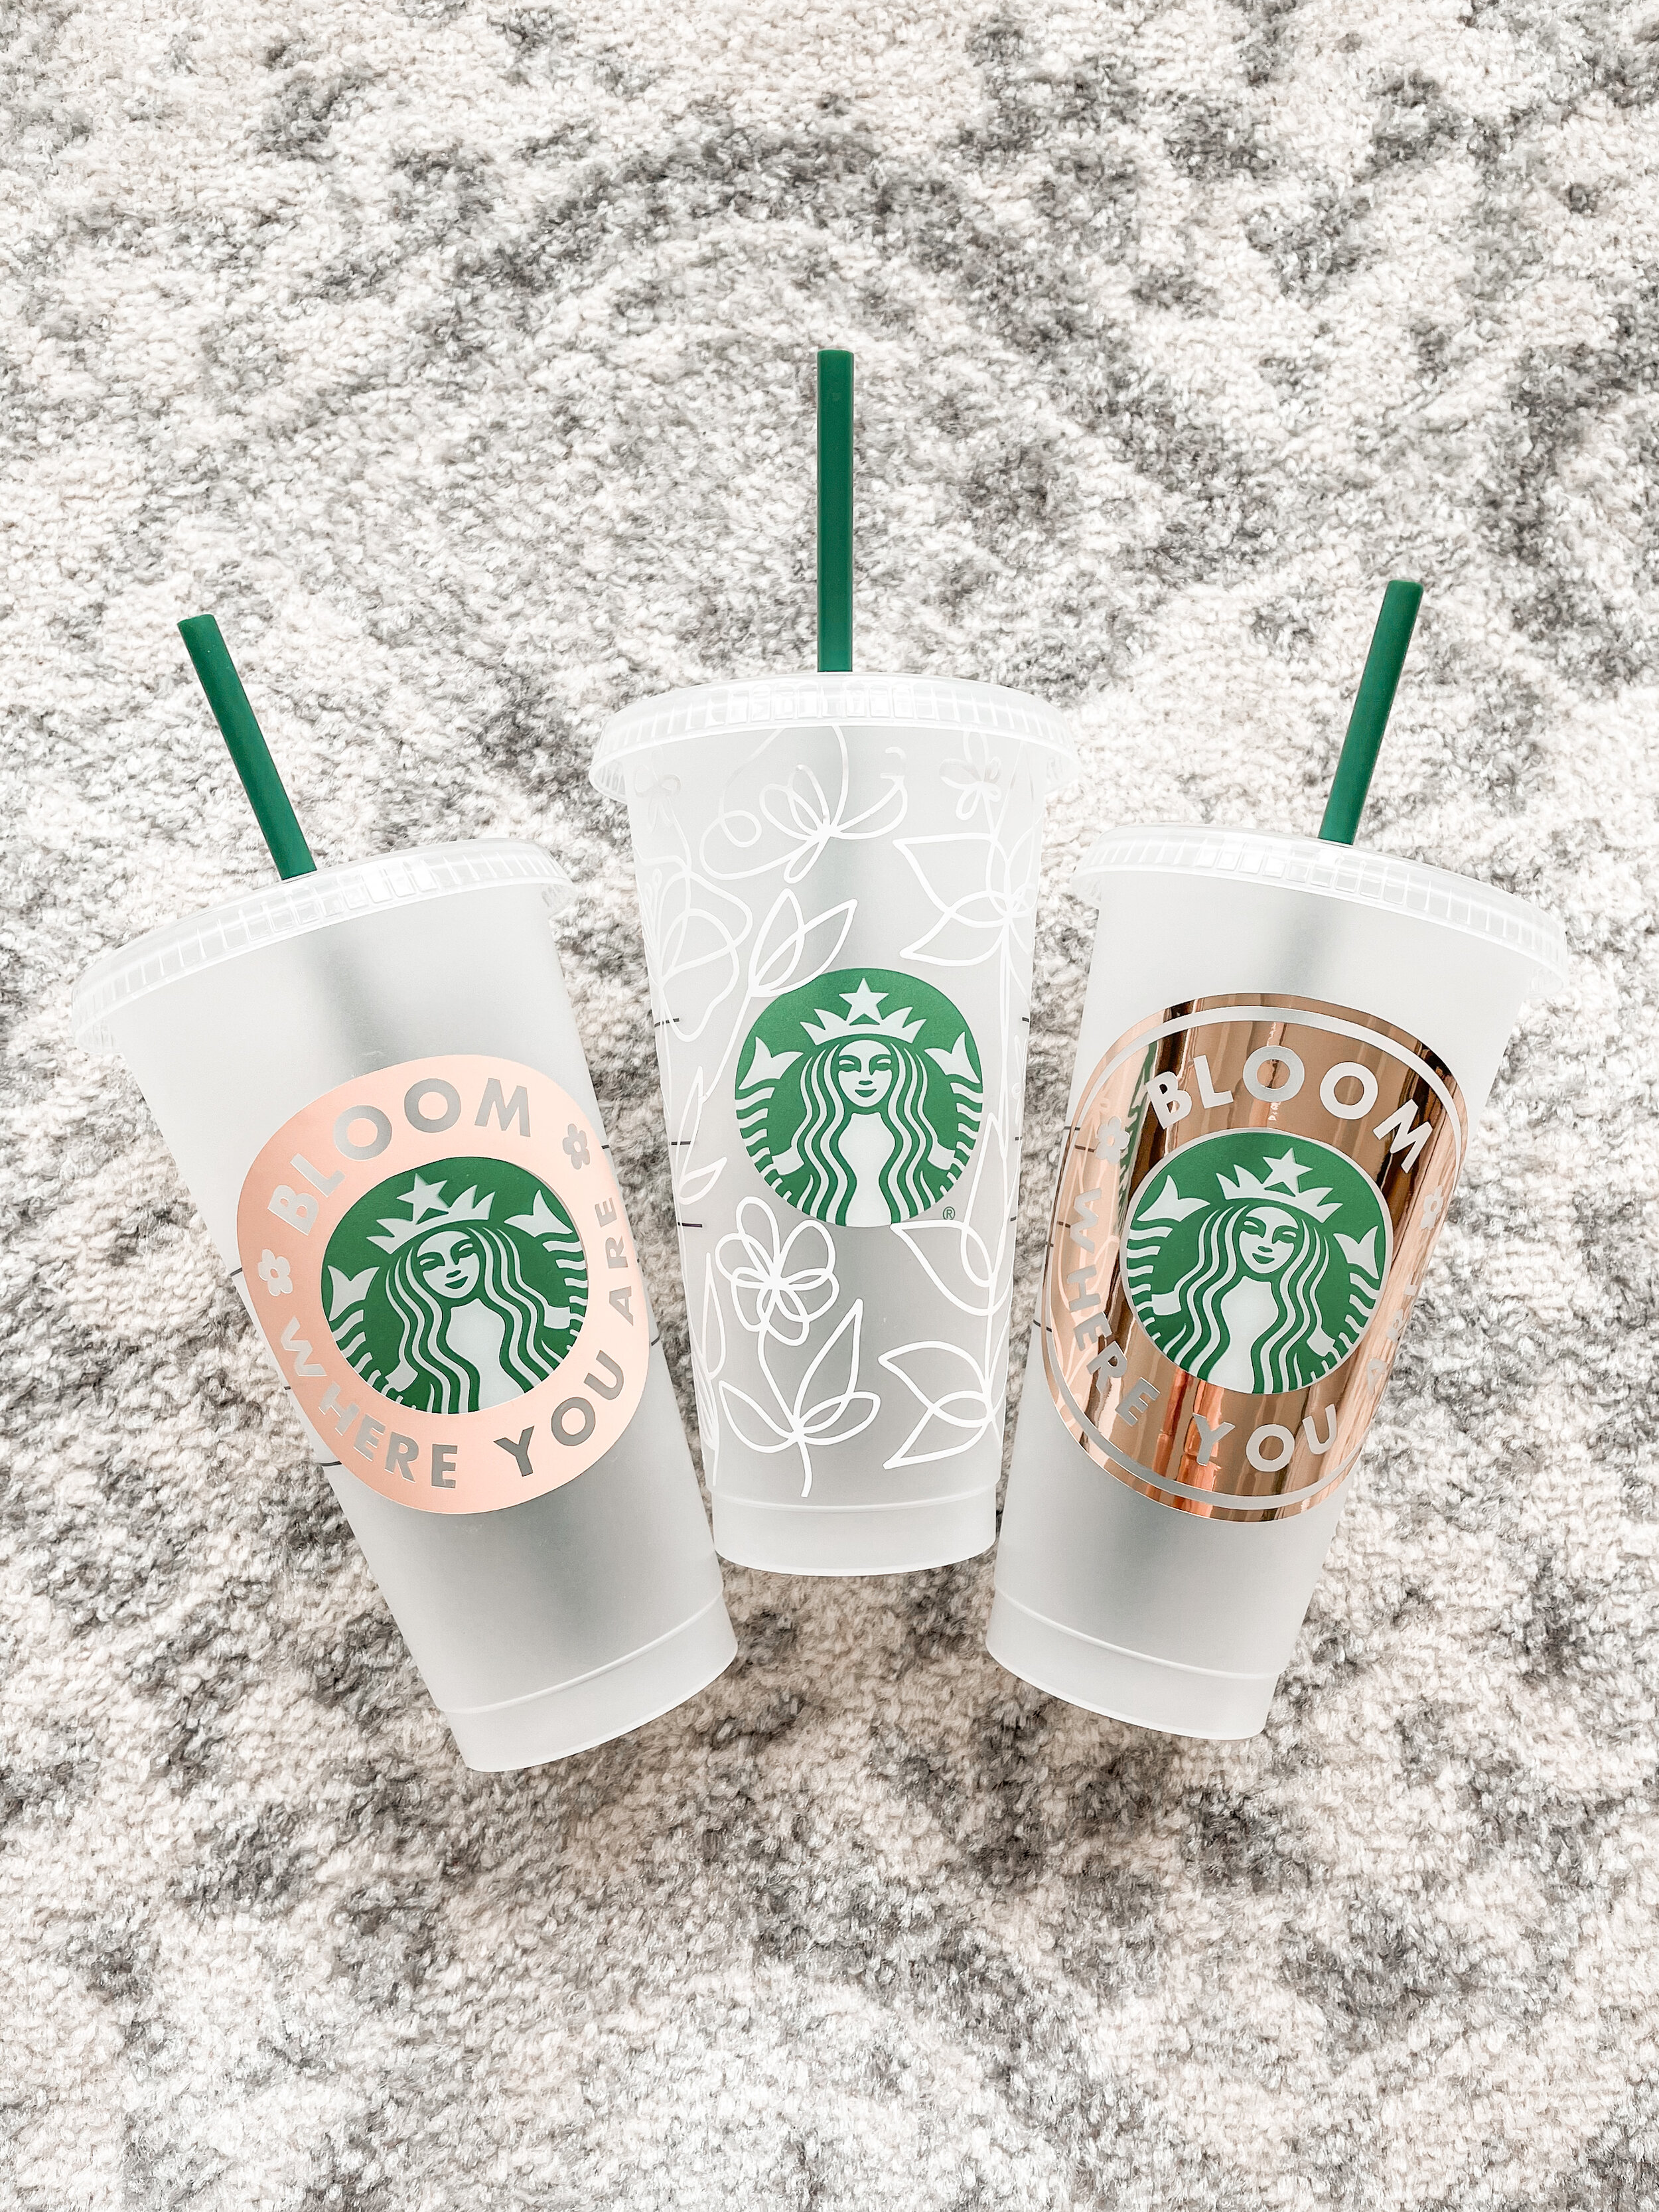
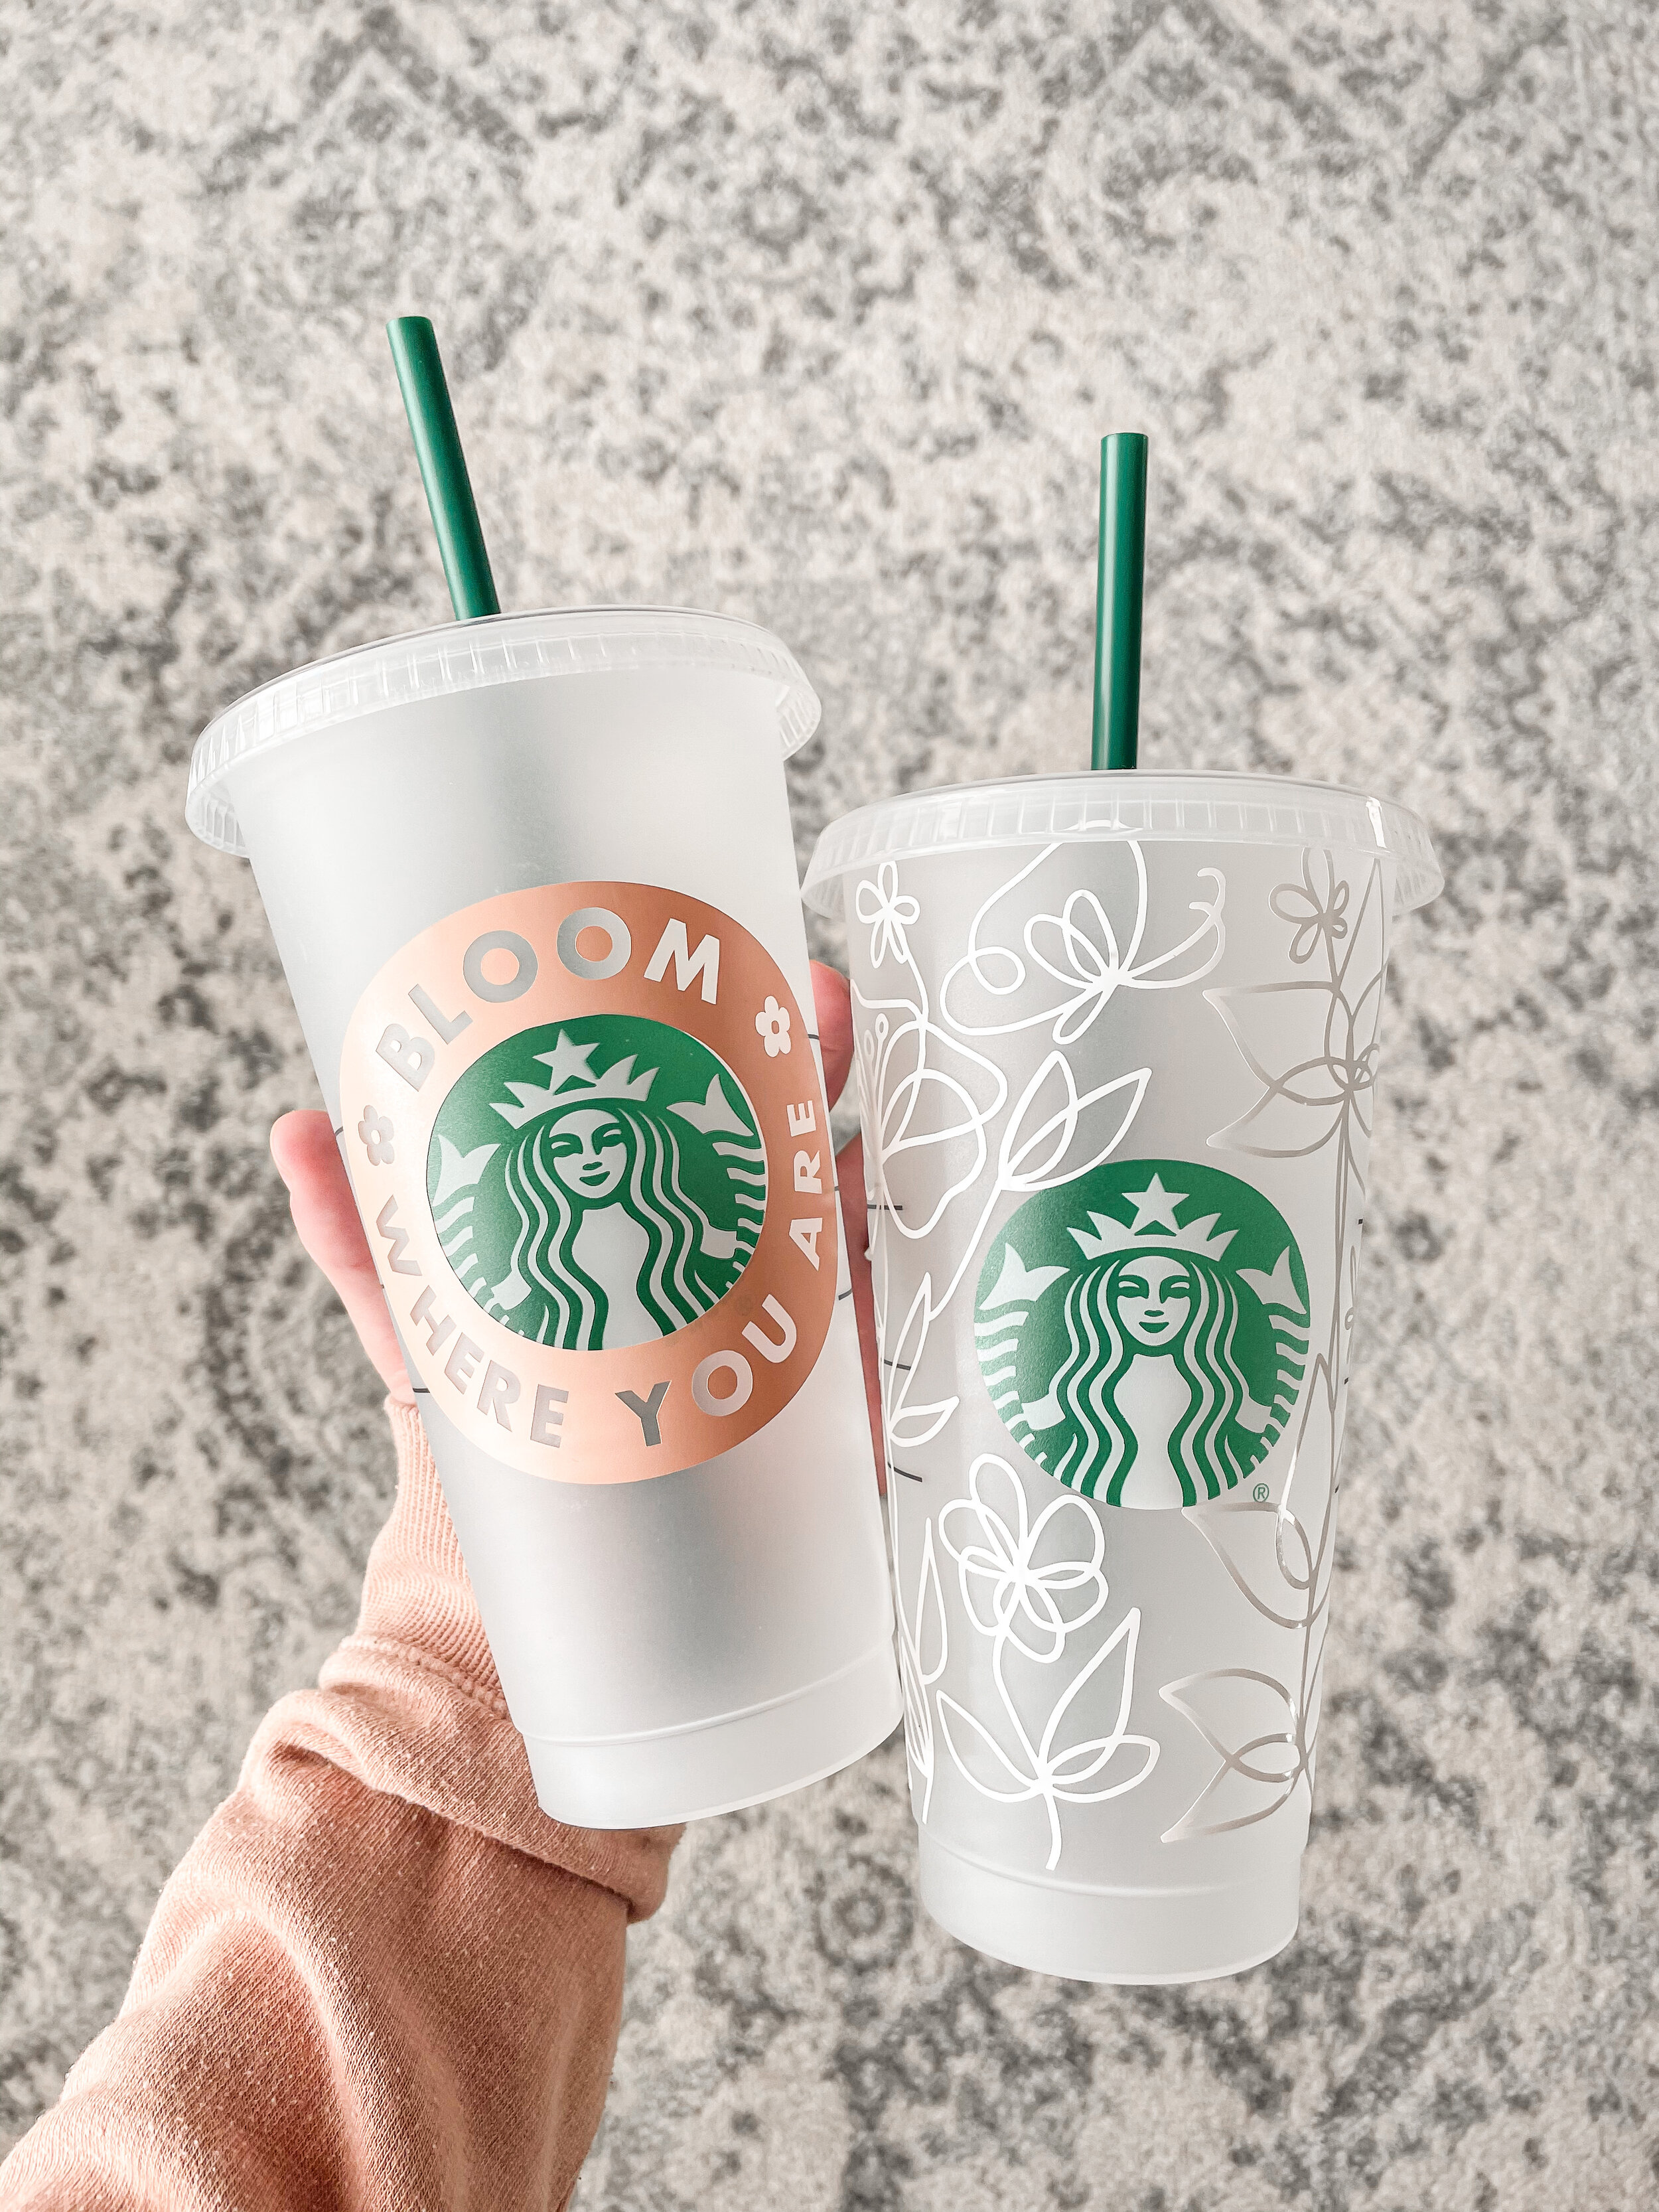
It’s finally starting to look and feel like spring! I really enjoyed creating these designs, there’s something so therapeutic about drawing on the iPad. I love how versatile these cups are, too. They make the perfect small gift for a teacher, new mama, or friend.
You can customize them a million different ways … check out this blog post and this blog post for more ideas! Here’s a simple tutorial for how I made these spring botanical cups.
What You Need:
Starbucks cold cup (you can get them in store at Starbucks or use these on Amazon)
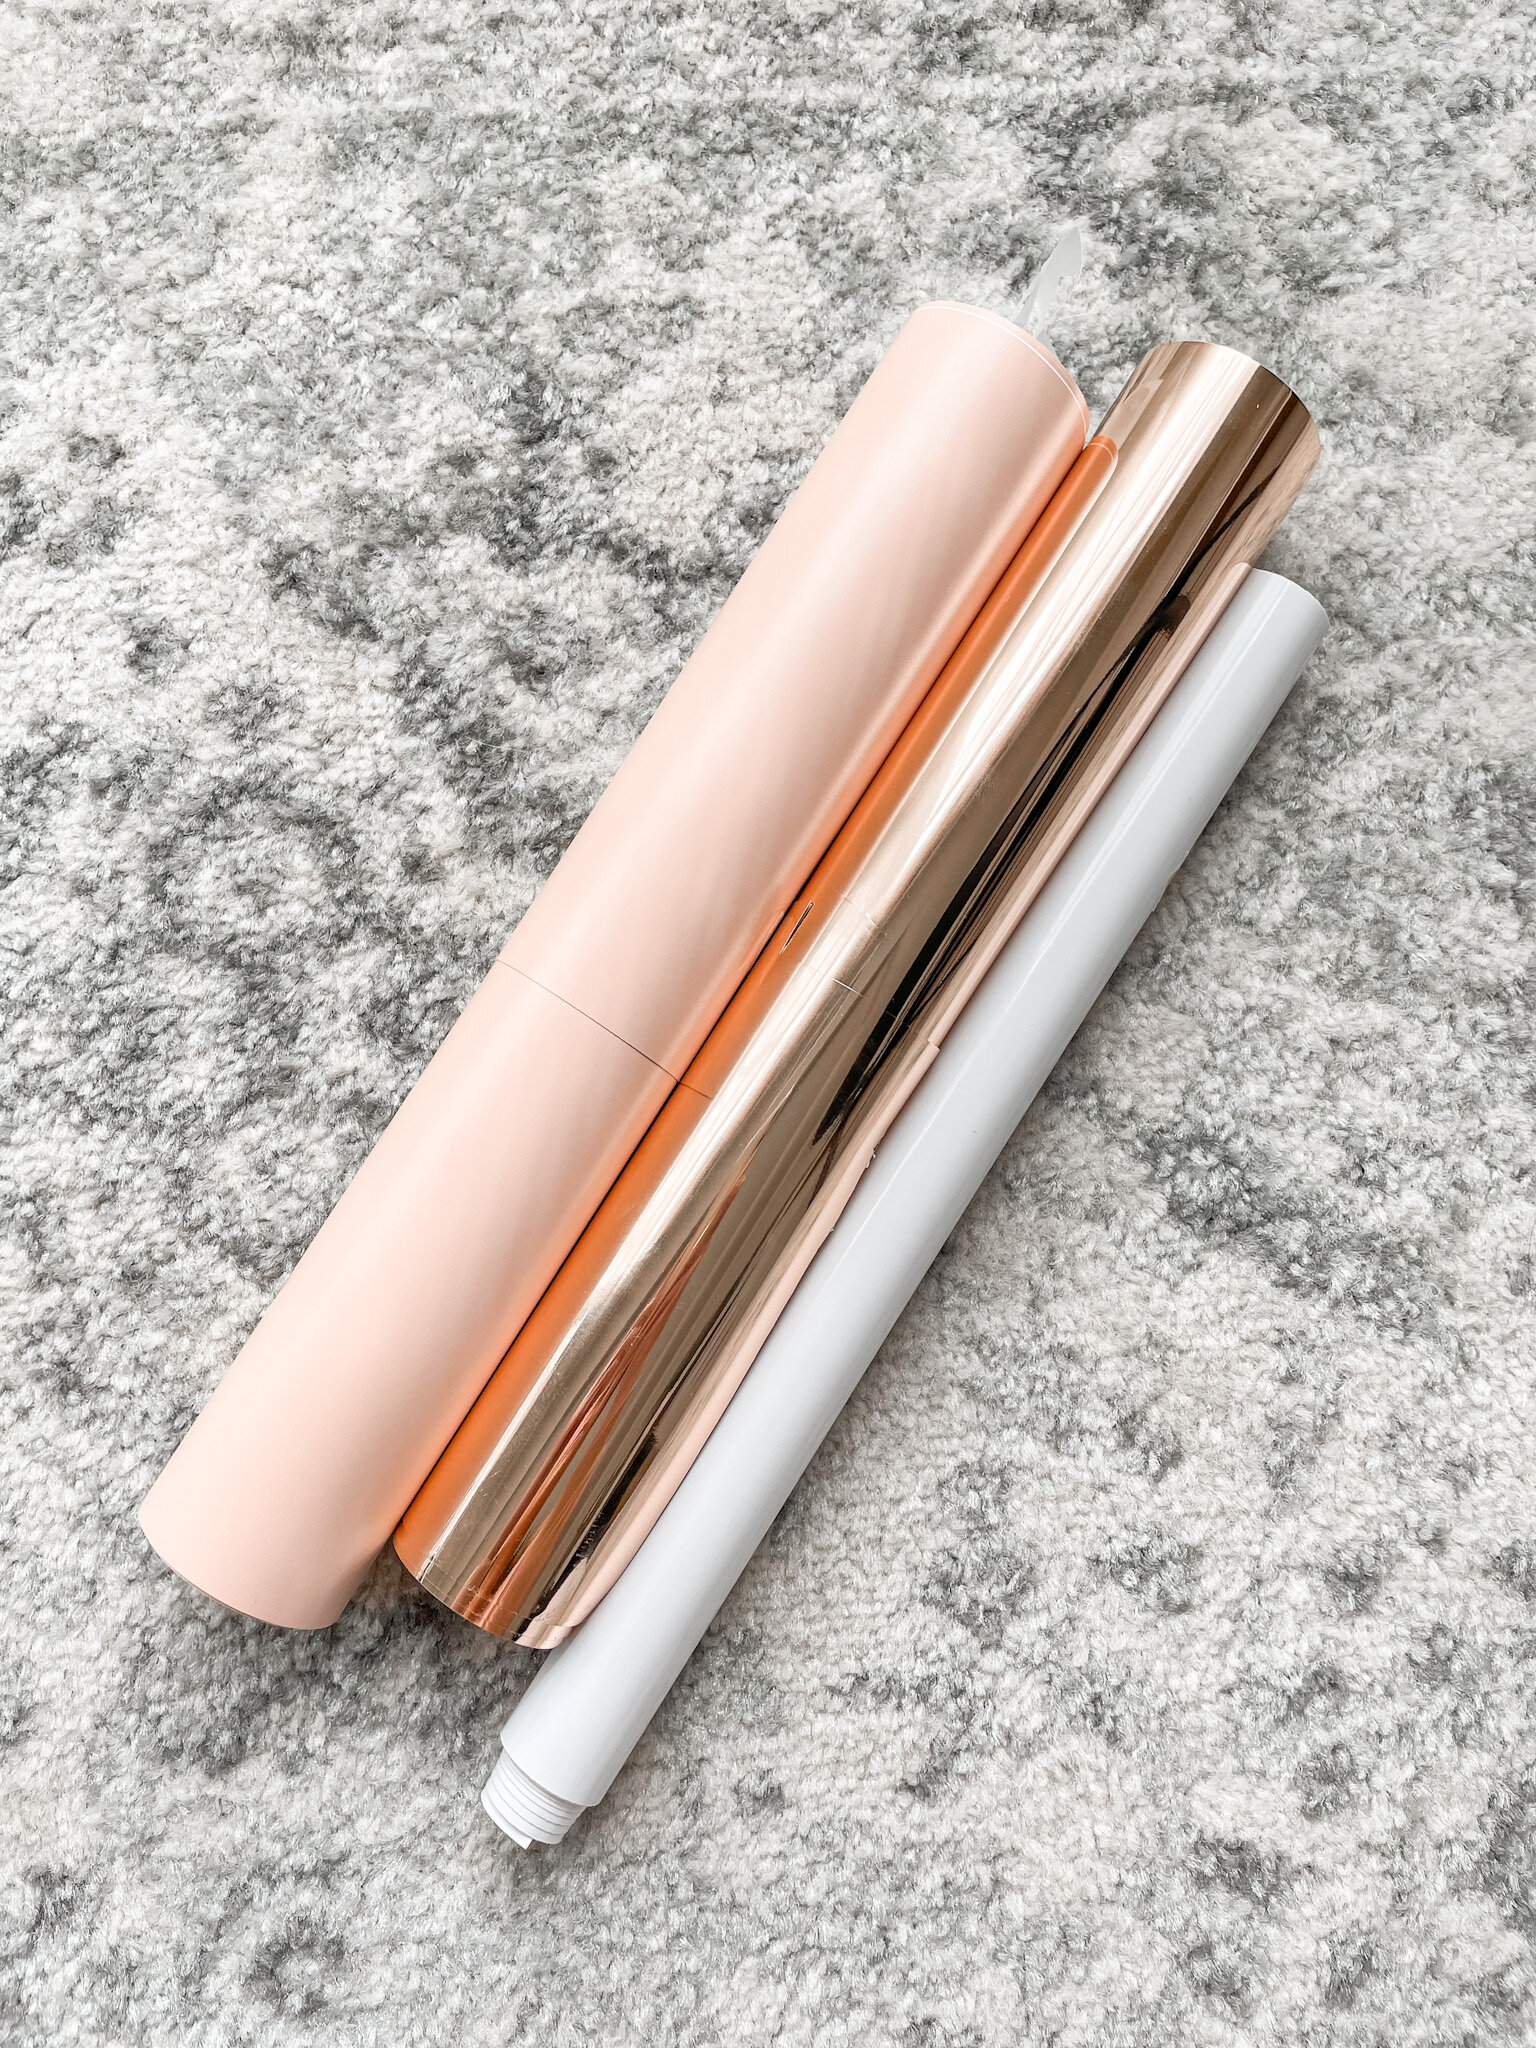
Permanent Adhesive Vinyl (I like this kind)
Cricut (or Silhouette) craft cutting machine. (I have this one)
Basic tool set for weeding & scraping
Transfer tape (I like this kind)
Spring Botanical Starbucks Cup SVGs from my Etsy!
Step One: Design in Procreate (skip to Step Two if you grabbed my SVG above!)
Start by opening the Procreate app on your iPad. You’ll need an Apple Pencil to draw with, and I’ve found that of all the digital writing utensils the Apple Pencil works the best because of it’s pressure sensitivity. I talk all about iPad Lettering and design creation in my iPad Lettering Workbook — it’s 20+ pages filled with step by step tutorials and tips on how to use the Procreate app like a pro!

Draw your design in a new Canvas - my favorite brushes to use are the “Monoline” brush in the Calligraphy set (free in Procreate) and my custom BrittanyLettering brush that I use for 100% of my hand lettering.
Save your design as a transparent PNG and AirDrop or send it over to your computer.

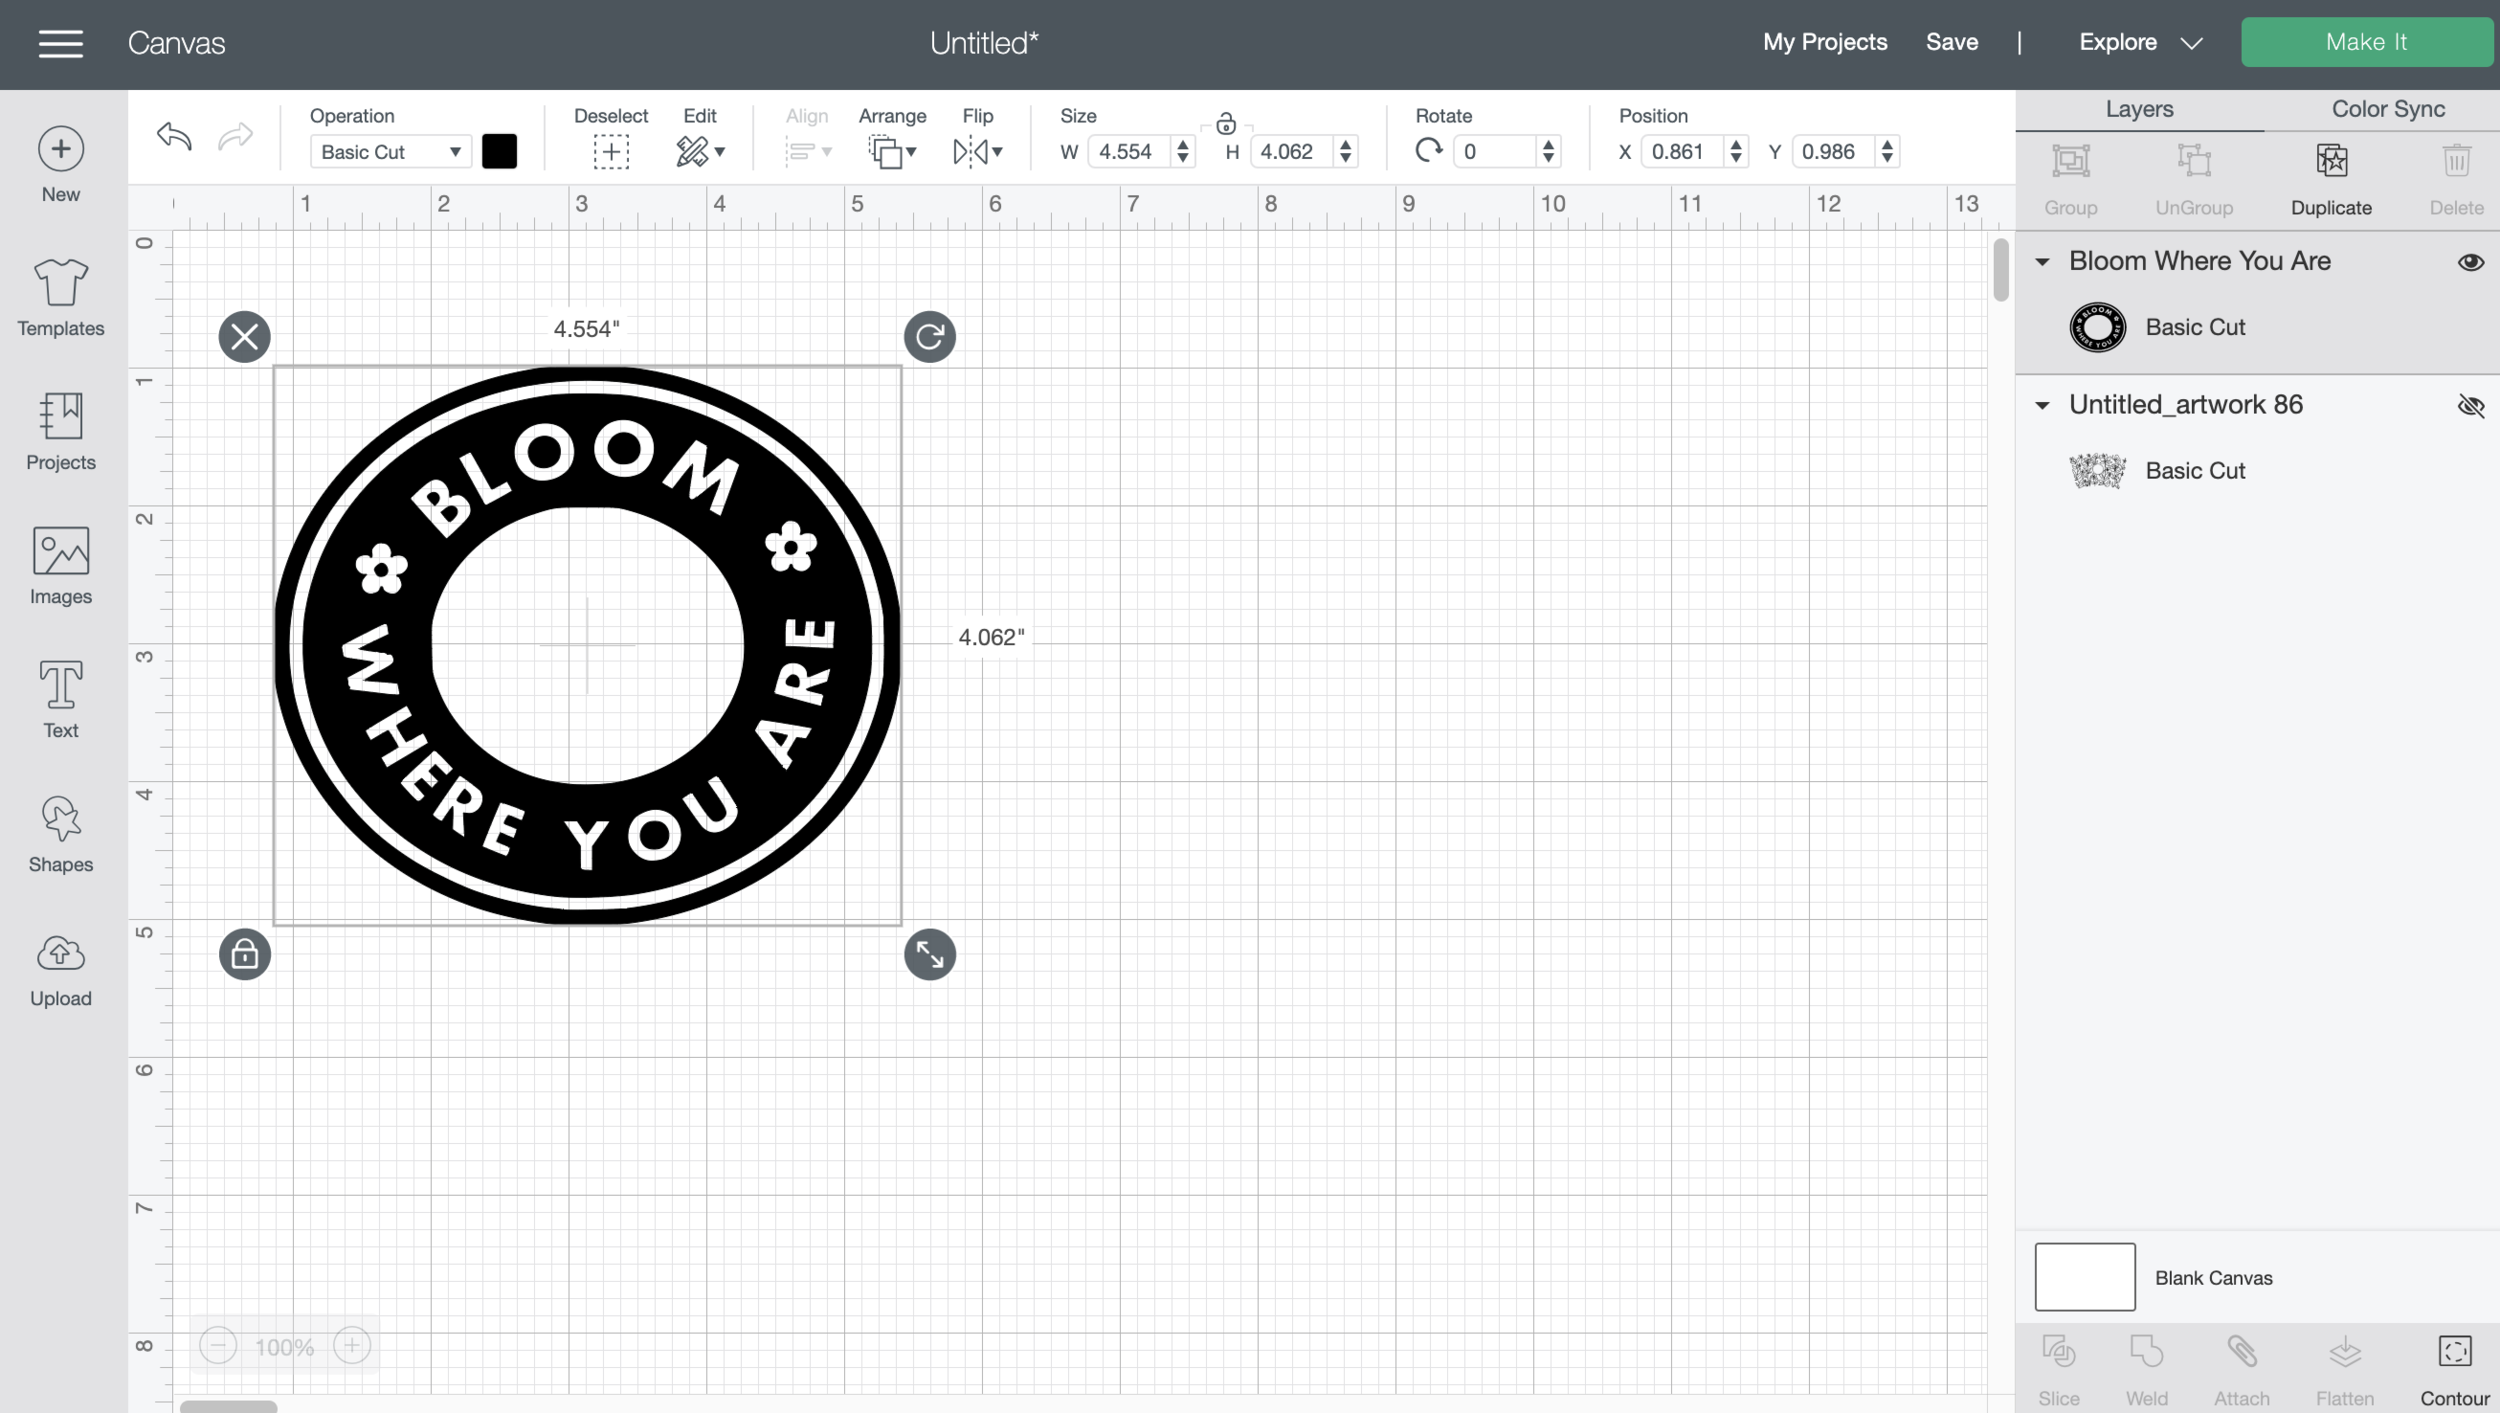
Step Two: Cricut Design Space
Start by uploading my Spring Botanical Starbucks SVGs or your own pre-purchased one from Etsy. You can also fully customize your own by uploading this blank circle design to Cricut Design Space (grab it on my Freebies page!)
Note: to customize your own circle design, check out this blog post with step by step instructions on how to make it look professional!

Step Three: Measure
Starbucks cups are NOT perfectly circle. They’re actually a little wider at the sides. Depending on where you ordered your Starbucks cup, it may or may not be the exact same size as mine. Make sure you measure your cup.
Mine is exactly 2 inches from top to bottom, and 2.25 inches wide. Tip: cut a piece of string to get the exact curved measurements!

Adjust your circle in Design Space to match your cup. We’ll use the gridlines in the Canvas to match. Each square is 1 inch, so we are just going to adjust the inner circle of our design to match the size of our cup circle.
I’m lining up the very top of my inner circle in the center of the 3” mark, and I’m shrinking my circle to be exactly 2 grid blocks tall … aka 2 inches tall.

Next, we’ll click the little lock icon on the bottom left to “unlock” the shape … this allows us to stretch the circle. Stretch your logo to 2.25” like mine, or whatever the exact width of your cup is. Be sure to keep your height 2”.
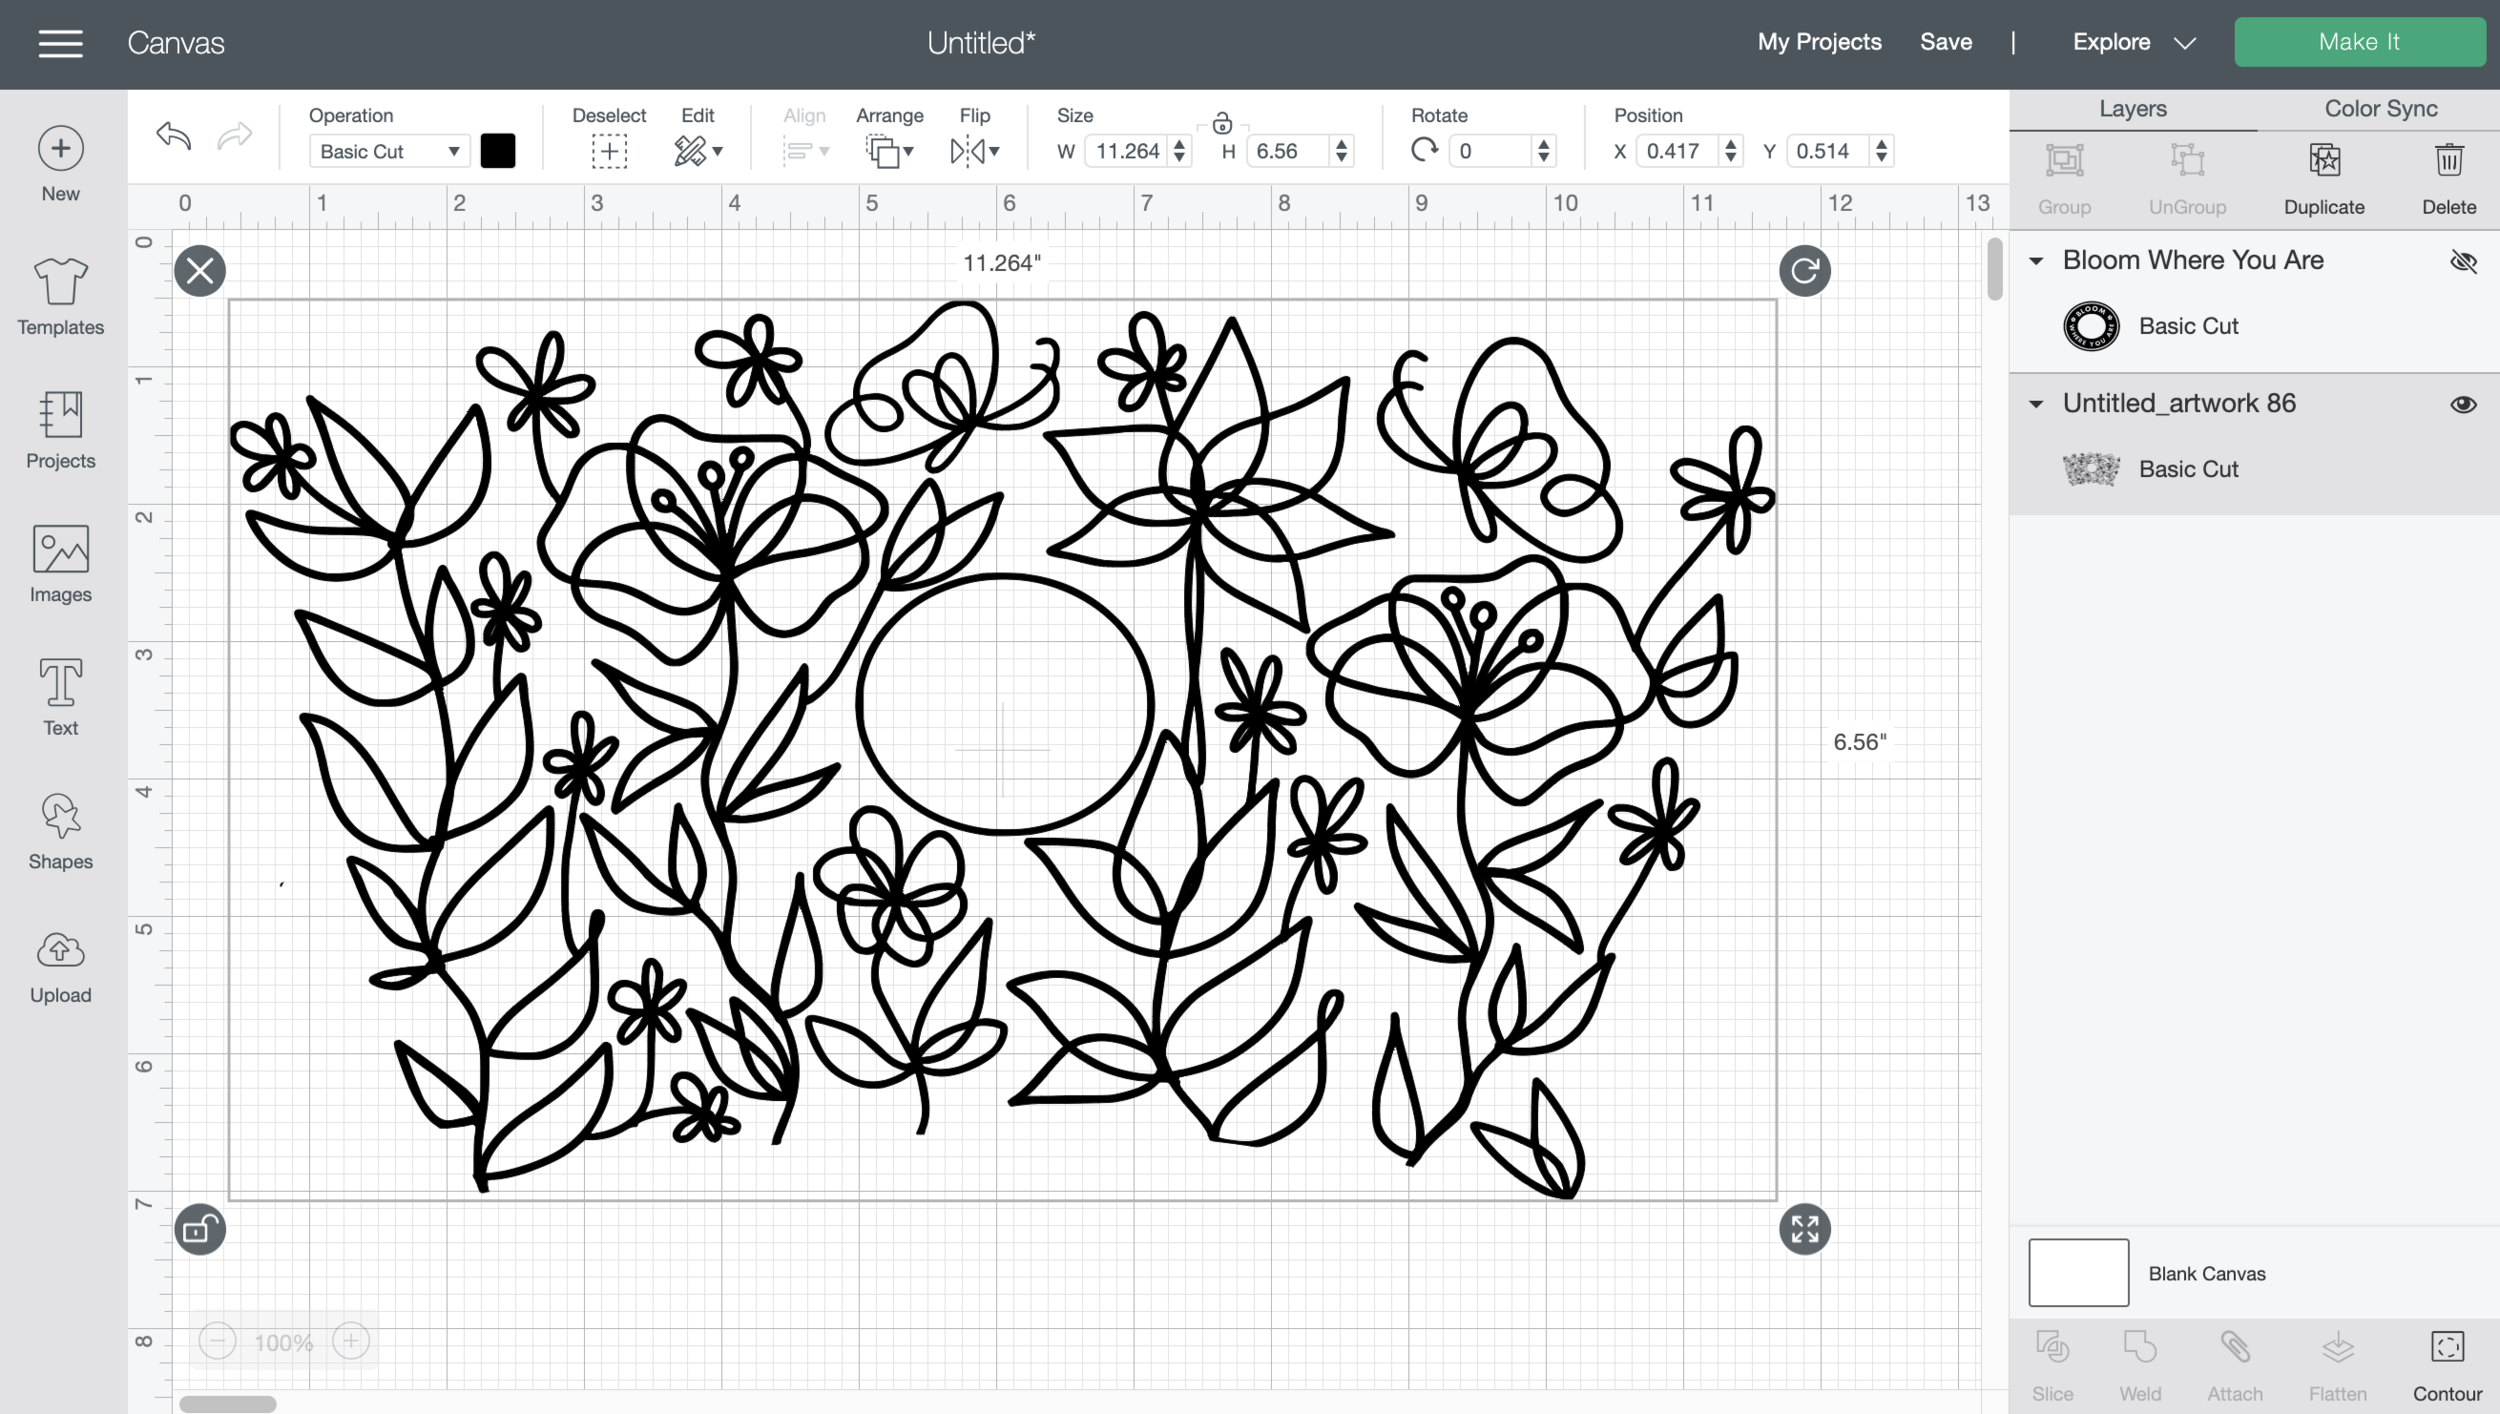
Note: if you’re making the botanical full wrap design, simply upload it to your Canvas, and click the little unlock tool at the bottom left.
Then at the top in the measurements, type in 11.26 for width and 6.56 for height. These dimensions should work perfectly for your cup! You can always use the middle circle as a guide against the actual circle on your cup. The middle circle is meant to be thrown away :)
Once it’s perfect click the “lock” icon again to save the shape and move it to the top left corner of your Canvas. Click the green “Make It” icon at the top.
Before you cut, Cricut Design Space will show you a preview of your design on the cutting mat. Use this as a reference for how much vinyl to measure and cut.


Press “Continue” on your computer and apply your pre-cut vinyl to the cutting mat and load it into your machine.

Step Three: Cut
Once you’ve cut your vinyl to size and loaded into the machine, you get to watch your Cricut do all it’s magic!
Once it’s cut, weed your vinyl and apply it with transfer tape to your cup. Check out this blog post for tips on weeding with foil and using transfer tape!
Remove the transfer tape and voila! You did it!

If you try this DIY I’d love for you to share a picture over social media using the hashtag #brittanylettering! For even more ideas, follow @brittanylettering, @officialcricut, and @myvinyldirect over on Instagram!
Be sure to head over to the Etsy shop to find even more fun designs for your spring projects!
Happy crafting!
XO Brittany
**this post contains affiliate links